My Small Form Factor PC build
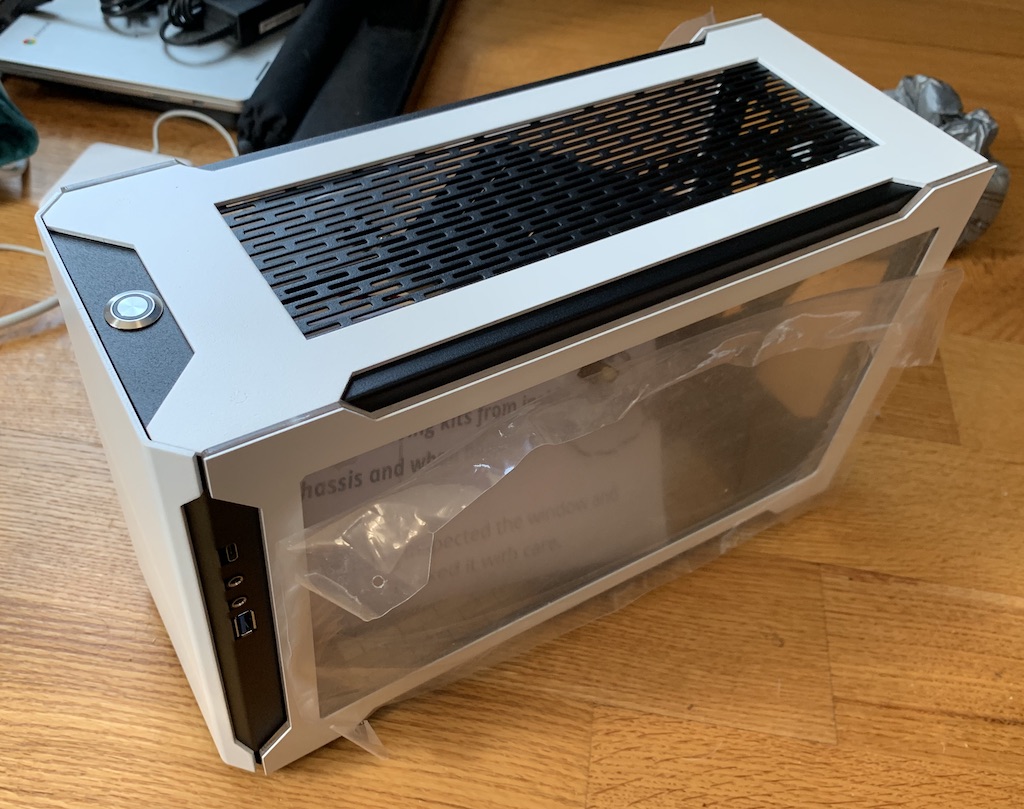
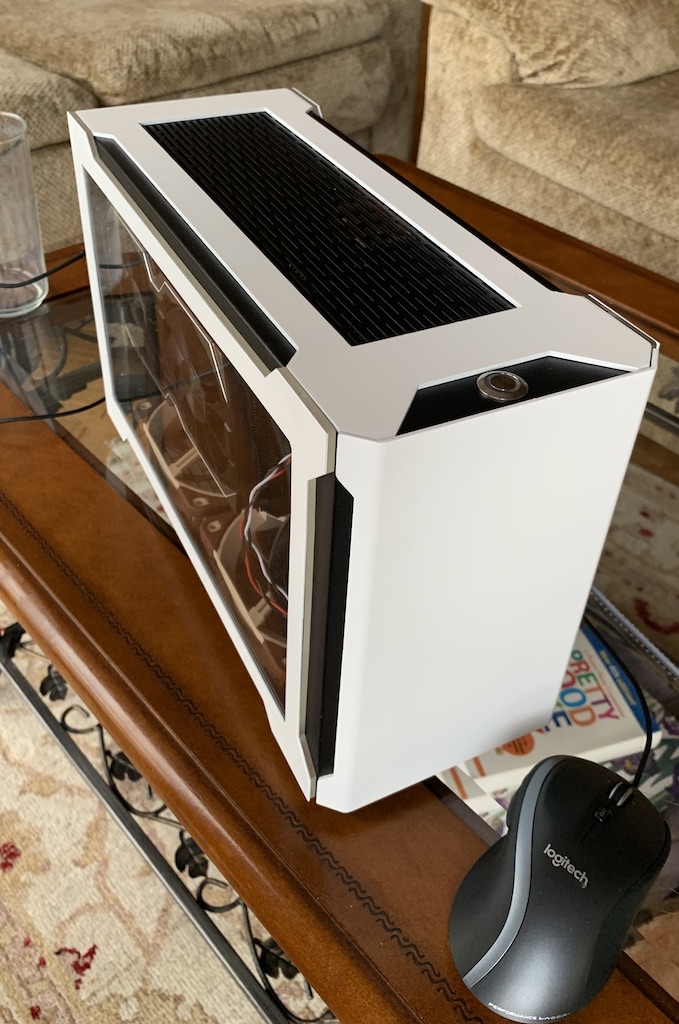
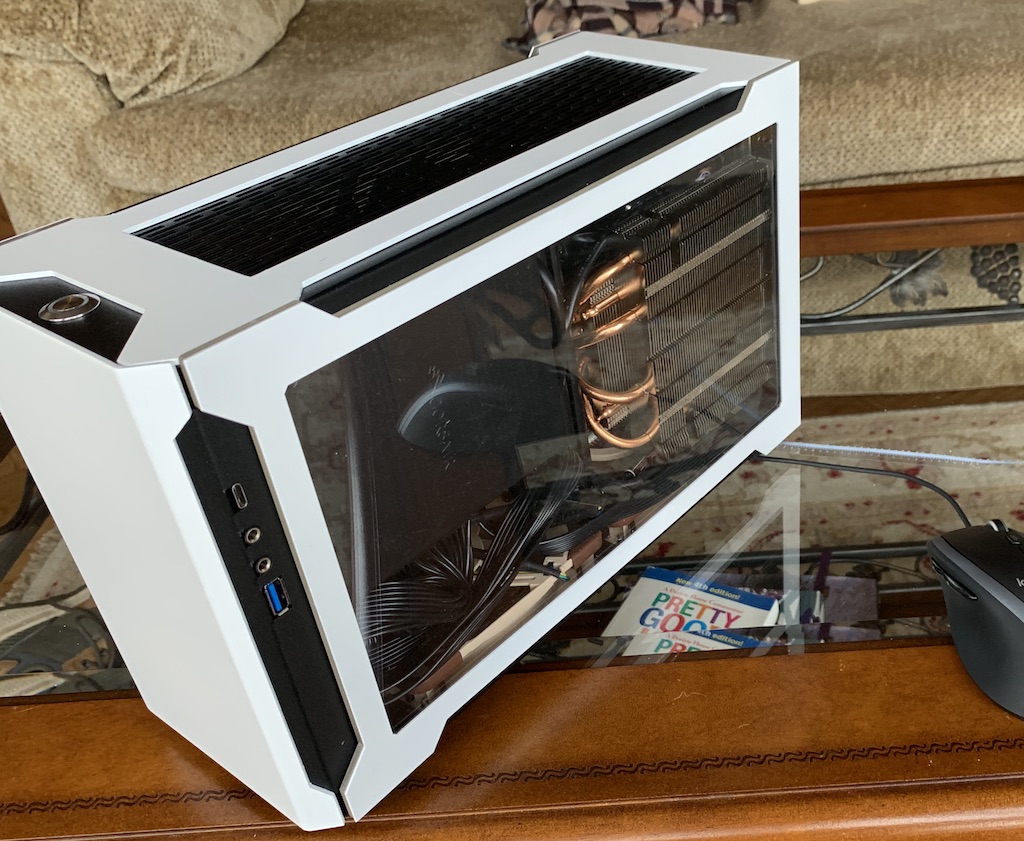
I built a small desktop computer! Here’s what it looks like:
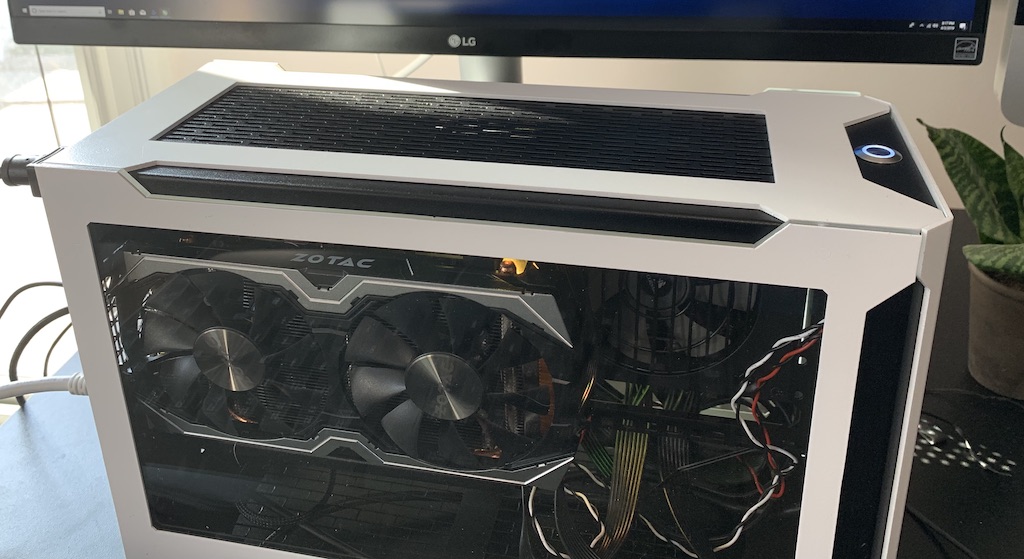
The case is a Sliger SM550, which is a new small-form-factor case. This case joins the Dan Case and Louqe Ghost in a trend within the small-computer world called “sandwich style cases”: instead of mounting the graphics card directly on the motherboard but perpendicular to it (as is normally done when building a PC), you mount the graphics card parallel using a separate cable, saving a bit of space.
I chose this case because I wanted a small PC. I’ve been fascinated by the Intel “NUC” form factor (which is exceptionally small) and it always seemed silly that people had to use up so much space on their desk to hold a PC. However, something I didn’t really realize until starting to work on this is that cooling gets more and more interesting the smaller you go. Basically, in a big computer, you don’t have to worry too much about cooling: you can use really large heat sink/fan combos, the case usually has lots of room for “natural” airflow into and out of it, and it takes a lot longer for things to heat up uncomfortably. In a small case you have less room for error.
The Parts
Anyway, here’s my spec sheet:
PCPartPicker part list / Price breakdown by merchant
| Type | Item | Price |
|---|---|---|
| CPU | AMD - Ryzen 5 2600 3.4 GHz 6-Core Processor | Purchased For $160.00 |
| Motherboard | Asus - ROG Strix B450-I Gaming Mini ITX AM4 Motherboard | Purchased For $120.00 |
| Memory | GeIL - EVO SPEAR 16 GB (2 x 8 GB) DDR4-3000 Memory | Purchased For $79.99 |
| Storage | Samsung - 970 Evo Plus 500 GB M.2-2280 Solid State Drive | Purchased For $120.00 |
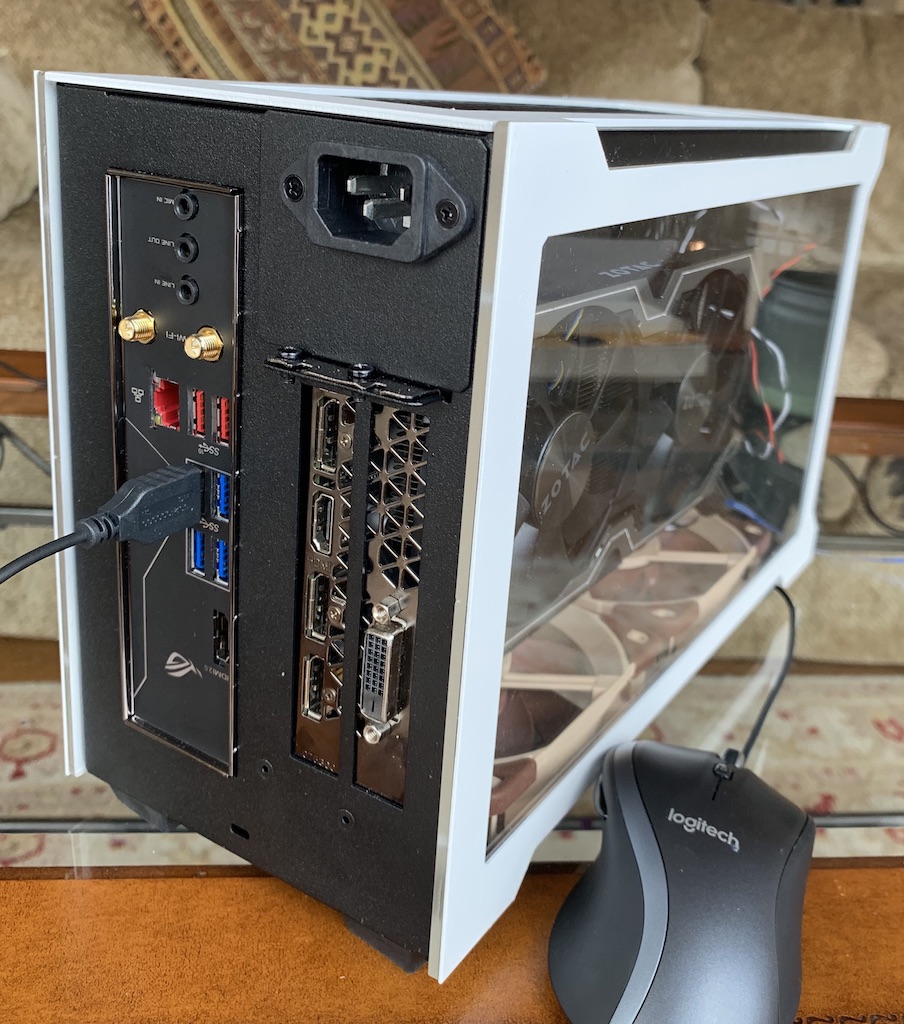
| Video Card | Zotac - GeForce GTX 1060 6GB 6 GB AMP! Edition Video Card | Purchased For $140.00 |
| Power Supply | Corsair - SF 450 W 80+ Gold Certified Fully-Modular SFX Power Supply | Purchased For $99.00 |
| Other | Sliger SM550, White, Acrylic Windows | Purchased For $200.00 |
| Total | $918.99 |
Putting together the parts went well. The SM550 turned out to be an easy case to build in, but I had trouble at first (even though I read the entire manual) because I didn’t take off the top cover. The side and front panels pop straight off just with some prying, but the top cover is screwed on. I didn’t understand that the cover would be necessary to remove to do the build, so I didn’t remove it; but that made it extremely difficult to get the motherboard in the right spot and to plug in the graphics card “riser” cable. It is also impossible to fasten the power supply to the case without taking off the top cover, so I finally realized that’s what you were supposed to do after doing all the work to get the motherboard in the right place. Whoops.
Cooling
Once everything was in place and cables plugged in, I turned it on. It booted fine, but I was watching the CPU temperature graph and it was rising and rising, even at idle. I played a game for 15 minutes and the temperature rocketed up to 95C, which is the threshold for the CPU to throttle itself because it’s too hot. Not good.
I believe there were 2 problems: first, a case this small absolutely needs case fans (something I didn’t realize, but Reddit was quick to point out when I posted this entry the first time). Second, the CPU cooler (the “Wraith Stealth” heatsink+fan that comes with the Ryzen processor I have) just barely fits within my case, and its intake is millimeters away from the window. So it wasn’t really getting enough air. Leaving the CPU-side panel off caused the temps to be back to reasonably normal – CPU in the 60s, although the GPU is still peaking at 83 which is on the high side.
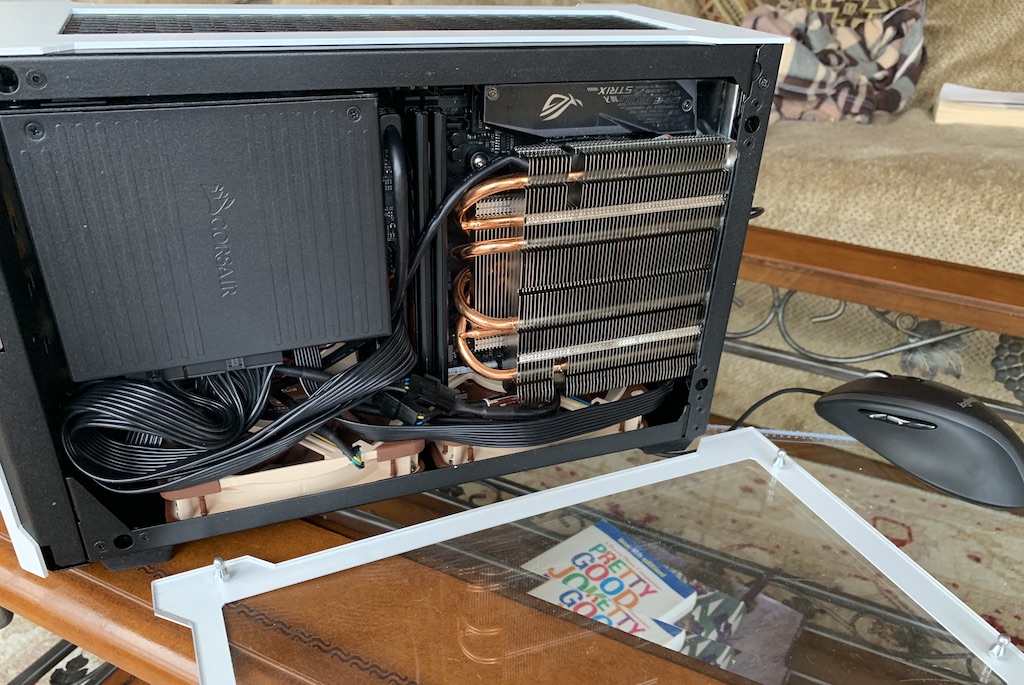
So, I had to order additional gear. I decided to follow the case manufacturer’s recommendation, which was to put 2 case fans blowing upwards from the bottom of the case, and a CPU heatsink (with vertically-arranged fins) that the fans blow air past. Arranging the heatsink this way without a fan right on it lets you use a larger heatsink than you would if you had a fan attached, and the high-pressure fans do a great job at forcing air past the heatsink anyway. The heatsink I chose is the Shadow Rock LP, and the case fans are Noctua A12x25.
I plugged both case fans into the “chassis fan” header on my motherboard – but then had to adjust BIOS settings to get it to ignore the fact I had no CPU fan plugged in, otherwise it wouldn’t boot :). After that, the setup worked. My GPU and CPU temps never hit 80C in my testing so far, and mostly staying below 74, which seems great to me. It’s also quiet: the Wraith Stealth used to make a lot of noise, and now the Noctuas rarely spin up to full speed (I have them keyed to the CPU temperature).
Overall, I love the build: the case and the interior both look great, it’s small enough to fit on my desk and in my suitcase, and it plays the games I want to play (mostly Overwatch) extremely well.
More Photos
